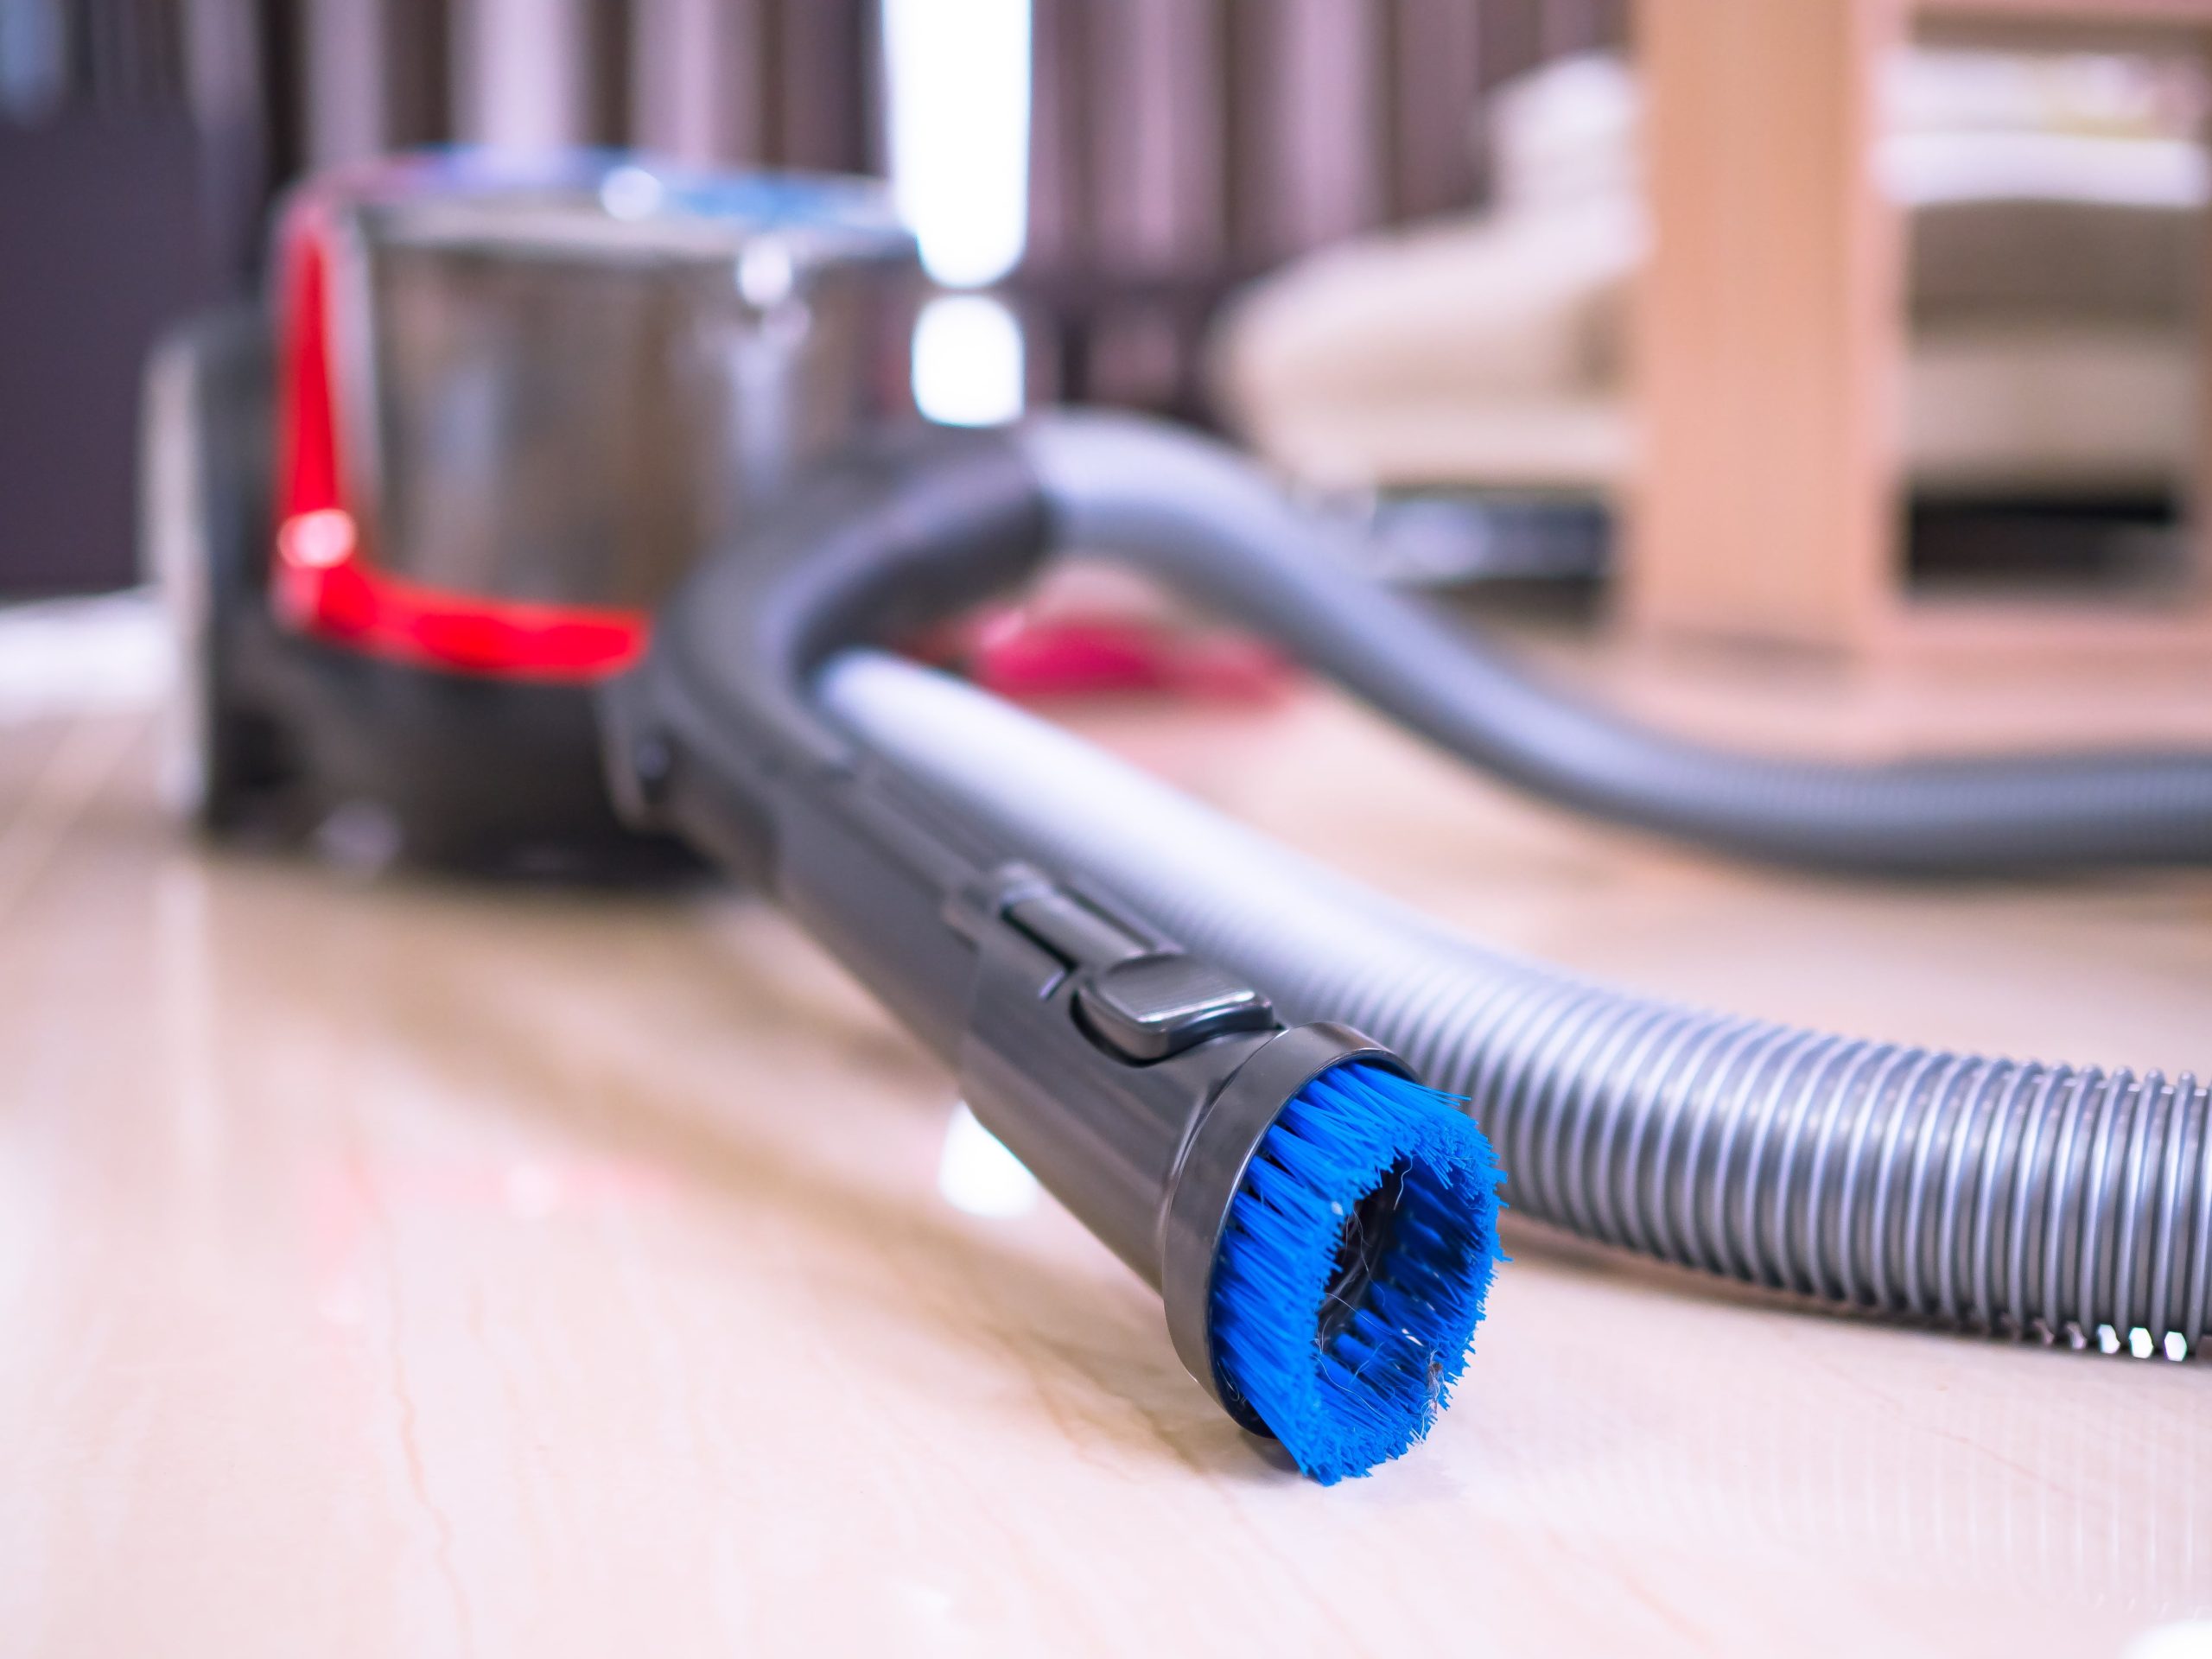

Vacuums are one of the most hardworking appliances in any household. From daily dirt to stubborn pet hair, they keep your floors looking fresh and your home allergen-free. But what happens when your vacuum suddenly stops working properly? Before rushing out to buy a new one, know that many issues-like a broken belt, odd noises, or clogged filters-can be fixed at home with a little DIY effort.
In this guide, we’ll walk you through how to fix a vacuum belt, along with tips for troubleshooting vacuum motor noise and knowing when it’s time for a filter replacement. With the right steps, you can extend the life of your vacuum and save money on costly repairs.
Why Vacuum Belts Matter
The belt in your vacuum connects the motor to the brush roll (or beater bar). This allows the brush roll to spin, agitating carpet fibers and loosening dirt for the vacuum to suck up. If the belt is broken, stretched, or slipping, the brush roll won’t work properly-leaving your carpets looking unclean even though the vacuum is running.
Common signs your vacuum belt needs fixing:
- Brush roll isn’t spinning
- A burning smell while vacuuming
- Reduced cleaning performance
- Visible wear or cracks on the belt
How to Fix a Vacuum Belt (Step by Step)
Replacing or adjusting a vacuum belt is one of the easiest DIY fixes you can do. Here’s a step-by-step guide:
Step 1: Gather Tools and a Replacement Belt
Check your vacuum’s manual or look up the model online to find the correct belt size. Most belts are inexpensive and available at hardware stores or online. You’ll also need a screwdriver.
Step 2: Unplug the Vacuum
Always disconnect from power before doing any repairs. Safety first.
Step 3: Access the Brush Roll Area
Turn the vacuum upside down. Remove the bottom plate (usually held on with screws or clips) to expose the brush roll and belt system.
Step 4: Remove the Old Belt
Slide the brush roll out and remove the old belt. If it’s broken, it may come out in pieces. If it’s stretched, it will look loose around the motor shaft.
Step 5: Install the New Belt
Loop the new belt around the motor shaft first, then slide the brush roll through the other end of the belt. Position the brush roll back into its slots, making sure the belt is aligned properly.
Step 6: Reassemble the Vacuum
Reattach the bottom plate and tighten the screws. Plug in the vacuum and test to ensure the brush roll spins correctly.
Pro Tip: Keep a spare belt on hand. Vacuum belts are designed to wear out over time, and replacing them every 6–12 months keeps your machine running smoothly.
Troubleshooting Vacuum Motor Noise
Sometimes the issue isn’t with the belt but with strange sounds coming from your vacuum’s motor. Loud, grinding, or rattling noises often signal a problem. Here’s how to troubleshoot:
- Grinding or Squealing – This usually points to a worn or misaligned belt. Replace the belt if needed.
- Rattling – Something may be stuck in the brush roll or hose. Turn off the vacuum, inspect, and remove any debris.
- Loud Whining or Screeching – This could mean the bearings in the motor are failing. At this point, professional repair or motor replacement may be necessary.
- Sudden Humming or Buzzing – Check for clogs in the hose or filters. Restricted airflow can cause the motor to strain.
If your vacuum motor continues to make noise after basic troubleshooting, it may be nearing the end of its lifespan.
Don’t Forget Filter Replacement
Even if your belt and motor are working fine, a dirty filter can drastically reduce suction power. Over time, filters become clogged with dust, dirt, and allergens, preventing air from flowing freely through the machine.
Types of Vacuum Filters:
- Foam Filters – Washable and reusable, but should be replaced every year or two.
- Cartridge Filters – Usually replaceable; some can be cleaned and reused.
- HEPA Filters – Designed for allergy relief. Must be replaced every 6–12 months for best performance.
Signs You Need a Filter Replacement:
- Weak suction despite an empty bag/bin
- Dust blowing back out of the vacuum
- Persistent odor even after cleaning
- Visible dirt buildup on the filter
Pro Tip: Mark your calendar when you replace filters to stay on schedule. Regular filter maintenance improves suction, air quality, and motor performance.
When to Call a Professional
While many issues-like belts, filters, and clogs-can be handled at home, some vacuum problems require professional help. Call a repair technician if:
- Your vacuum still won’t turn on after replacing the belt and checking the motor.
- You smell burning even with a new belt installed.
- The motor continues making loud noises after cleaning and troubleshooting.
- Electrical issues (like sparks or shorts) appear.
Final Thoughts
Learning how to fix a vacuum belt and keeping up with routine care like filter replacement can save you time, money, and frustration. Many common problems, including vacuum motor noise, can be resolved with simple troubleshooting steps.
By tackling small repairs yourself, you’ll keep your vacuum running like new, extend its lifespan, and avoid unnecessary replacements. And if you ever run into bigger problems, don’t hesitate to reach out to a professional repair service for expert help.
With the right know-how, you can truly fix your vacuum like a pro.