


Broward: 954-341-4323
Palm Beach: 561-558-0770

MEGA SHOWROOM:
9853 W. Sample Rd,
Coral Springs, FL 33065
HOURS: M-F: 9am-6pm SAT: 10am-4pm

Tag: Weston FL

  • Central Vacuum Inlet Not Working? Weston Repair Guide

    Central Vacuum Inlet Not Working? Weston Repair Guide

    Central Vacuum Inlet Not Working? What Weston Homeowners Should Check First

    A central vacuum system can make cleaning your home much easier—until you plug the hose into a wall inlet and nothing happens.

    One of the most common situations homeowners experience is having several central vacuum inlets that work normally while one inlet appears completely dead. When this happens, the central vacuum power unit itself may still be working properly.

    If one central vacuum inlet is not working while the others are, the problem is often isolated to the wall inlet, low-voltage wiring, hose connection, electrical contacts, or the section of tubing serving that area of the home.

    For homeowners in Weston, Florida, there are several things you can check before assuming the entire central vacuum system needs to be replaced.

    Why Is My Central Vacuum Inlet Not Working?

    Central vacuum systems typically use several wall inlets connected through PVC tubing to a main central vacuum power unit.

    Many systems also use low-voltage wiring that tells the central vacuum motor when the hose has been connected.

    Because several components work together, a problem with one wall inlet does not automatically mean that your central vacuum motor has failed.

    Common causes of a central vacuum inlet not working include:

    • Loose low-voltage wiring
    • Damaged inlet valves
    • Worn electrical contacts
    • Poor hose connections
    • Localized tubing clogs
    • Air leaks
    • Faulty inlet switches
    • Damaged tubing
    • Loose fittings
    • Debris around the inlet door

    The first step is determining whether the issue affects one inlet or the entire system.

    Central Vacuum Inlet Not Working but Others Work

    If several wall inlets work correctly but one does not, that is an important troubleshooting clue.

    Test your central vacuum hose at several outlets around your home.

    For example, if you have six central vacuum inlets and five work normally while one bedroom inlet does nothing, the main vacuum unit is probably capable of operating.

    That means you should concentrate on the individual inlet, wiring, hose connection, or nearby tubing instead of immediately replacing the central vacuum power unit.

    Check the Central Vacuum Hose Connection

    Sometimes the wall inlet isn’t actually the problem.

    The hose may not be making proper contact with the electrical or low-voltage connections inside the inlet.

    Remove the hose and carefully reconnect it.

    Make sure it is inserted completely.

    Then test the same hose at another wall inlet.

    If the hose works perfectly at another location but doesn’t activate the system at one specific inlet, the problem is more likely related to that particular inlet or its wiring.

    If you have another compatible hose available, testing it can help eliminate the hose itself as the cause.

    Check for a Damaged Central Vacuum Wall Inlet

    Central vacuum inlet valves receive years of repeated use.

    Over time, an inlet can become:

    • Loose
    • Cracked
    • Worn
    • Damaged
    • Misaligned

    A damaged central vacuum inlet may cause symptoms such as:

    • Vacuum does not start
    • Hose does not stay connected
    • Inlet door does not close properly
    • Weak suction
    • Intermittent operation
    • Loose wall plate
    • Visible physical damage

    Fortunately, a defective wall inlet often can be replaced without replacing the entire central vacuum system.

    Check the Low-Voltage Wiring Behind the Inlet

    A common reason a central vacuum wall inlet fails to activate the motor is a problem with the low-voltage control wiring.

    The wiring tells the central vacuum power unit when the hose has been connected.

    If the wiring behind one inlet becomes loose, damaged, or disconnected, the motor may never receive the signal to turn on.

    Possible causes include:

    • Loose wiring connections
    • Aging wiring
    • Previous remodeling
    • Movement of the inlet
    • Improper installation
    • Damaged electrical contacts
    • Corrosion

    If you’re comfortable inspecting the inlet, you may be able to identify an obvious disconnected wire.

    More complicated electrical troubleshooting should be handled by someone familiar with central vacuum control circuits.

    Can One Central Vacuum Inlet Be Clogged?

    Yes.

    A central vacuum clog does not always affect every inlet in the home.

    If one inlet has very weak suction while other outlets have strong suction, there may be a blockage in the branch of tubing connected to that inlet.

    Common objects that can clog central vacuum tubing include:

    • Paper
    • Small toys
    • Socks
    • Hair
    • Large debris
    • Household objects accidentally vacuumed up

    A localized clog becomes especially likely when the problem appeared suddenly and only affects one area of the house.

    Central Vacuum Turns On but Has Weak Suction at One Inlet

    If the central vacuum motor turns on but one inlet has considerably less suction than the others, the activation circuit may be working correctly.

    Instead, investigate airflow problems.

    Possible causes include:

    • Clogged hose
    • Blocked wall inlet
    • Tubing obstruction
    • Air leak
    • Cracked fitting
    • Damaged pipe
    • Loose connection
    • Worn inlet gasket

    Compare the suction from the affected outlet with another working outlet.

    A noticeable difference can help distinguish an airflow problem from an electrical activation problem.

    Check for a Central Vacuum Air Leak

    Central vacuum systems depend on sealed tubing to maintain proper airflow.

    An air leak around an individual inlet or section of piping can significantly reduce suction.

    Possible leak locations include:

    • Wall inlet
    • Inlet gasket
    • Tubing connection
    • PVC fitting
    • Hidden tubing inside the wall

    You may hear a hissing sound near the inlet when the central vacuum is running.

    Because much of the tubing is hidden inside walls, professional diagnosis may be necessary when the leak cannot be easily located.

    Central Vacuum Inlet Has Suction but Won’t Turn On

    Another situation occurs when the airflow path appears clear but the vacuum does not activate when the hose is connected.

    This can indicate a problem with the control circuit rather than the tubing.

    Possible causes include:

    • Low-voltage wiring failure
    • Faulty inlet switch
    • Damaged contacts
    • Poor hose electrical connection

    If your hose activates the system from other wall inlets, the problem is more likely associated with the problem inlet.

    Why Does My Central Vacuum Inlet Work Intermittently?

    Pay attention to what happens when you move or reconnect the hose.

    If the vacuum:

    • Starts and stops
    • Works only when the hose is positioned a certain way
    • Activates after repeatedly reconnecting the hose

    you may have a loose electrical connection, worn contact, failing inlet switch, or hose connection problem.

    These symptoms can be particularly useful when diagnosing the system.

    Don’t Automatically Replace the Central Vacuum Motor

    A non-working wall inlet does not automatically mean the central vacuum power unit has failed.

    If several other outlets still operate normally, the power unit should generally not be the first component you suspect.

    Instead, investigate the affected wall inlet and its associated wiring and tubing first.

    Correctly identifying the source of the problem may prevent unnecessary replacement of an expensive central vacuum power unit.

    Repair or Replace a Central Vacuum Inlet?

    A defective central vacuum inlet does not normally mean the entire system needs to be replaced.

    Depending on the problem, the repair may involve:

    • Replacement inlet valve
    • Low-voltage wiring repair
    • New electrical contacts
    • Replacement inlet switch
    • New gasket
    • Tubing fitting
    • Hose connection
    • Replacement hose

    The correct replacement component depends on the type and age of the central vacuum system.

    Taking a photo of the existing inlet or identifying the manufacturer and model can make finding compatible replacement parts easier.

    When Should You Call for Central Vacuum Repair?

    Basic troubleshooting such as testing another outlet, reconnecting the hose, checking suction, and looking for obvious damage can often help narrow down the problem.

    Professional diagnosis becomes more useful when:

    • One inlet consistently fails
    • Several outlets suddenly stop working
    • The inlet works intermittently
    • One outlet has much weaker suction
    • You suspect a hidden pipe clog
    • Low-voltage wiring is damaged
    • The wall inlet is physically broken
    • You hear air leaking inside the wall
    • Replacing or testing the hose does not solve the issue

    Determining whether the problem is electrical, mechanical, or airflow-related can make the repair much more straightforward.

    Central Vacuum Repair in Weston, FL

    If you’ve completed the basic checks and your central vacuum inlet still isn’t working, professional diagnosis can help locate the problem without replacing components unnecessarily. Gator Vacuum & Sewing provides central vacuum repair in Weston, FL, including troubleshooting for wall inlets, low-voltage wiring, clogged tubing, hoses, suction problems, parts, and central vacuum power units.

    A technician can determine whether the failure is located at the inlet itself, inside the control wiring, within the hose connection, or farther inside the tubing system. This is particularly helpful when the piping or electrical connections are hidden behind walls and cannot be inspected easily.

    Need Central Vacuum Service or Repair in Weston?

    A central vacuum system that works from some wall inlets but not others usually gives you an important clue: the problem may be localized rather than affecting the entire system.

    Start by testing other inlets, checking your hose, comparing suction, and observing whether the motor activates.

    If the problem continues, Gator Vacuum & Sewing offers Weston central vacuum service and repair for homeowners dealing with non-working inlets, weak suction, wiring problems, clogged pipes, damaged hoses, inlet replacement, and other built-in vacuum system issues.

    Getting the specific problem diagnosed correctly can often be far more practical than replacing an entire central vacuum system.
  • Sewing Machine Won’t Feed Fabric? Common Causes & Repair in Weston, FL

    Sewing Machine Won’t Feed Fabric? Common Causes & Repair in Weston, FL

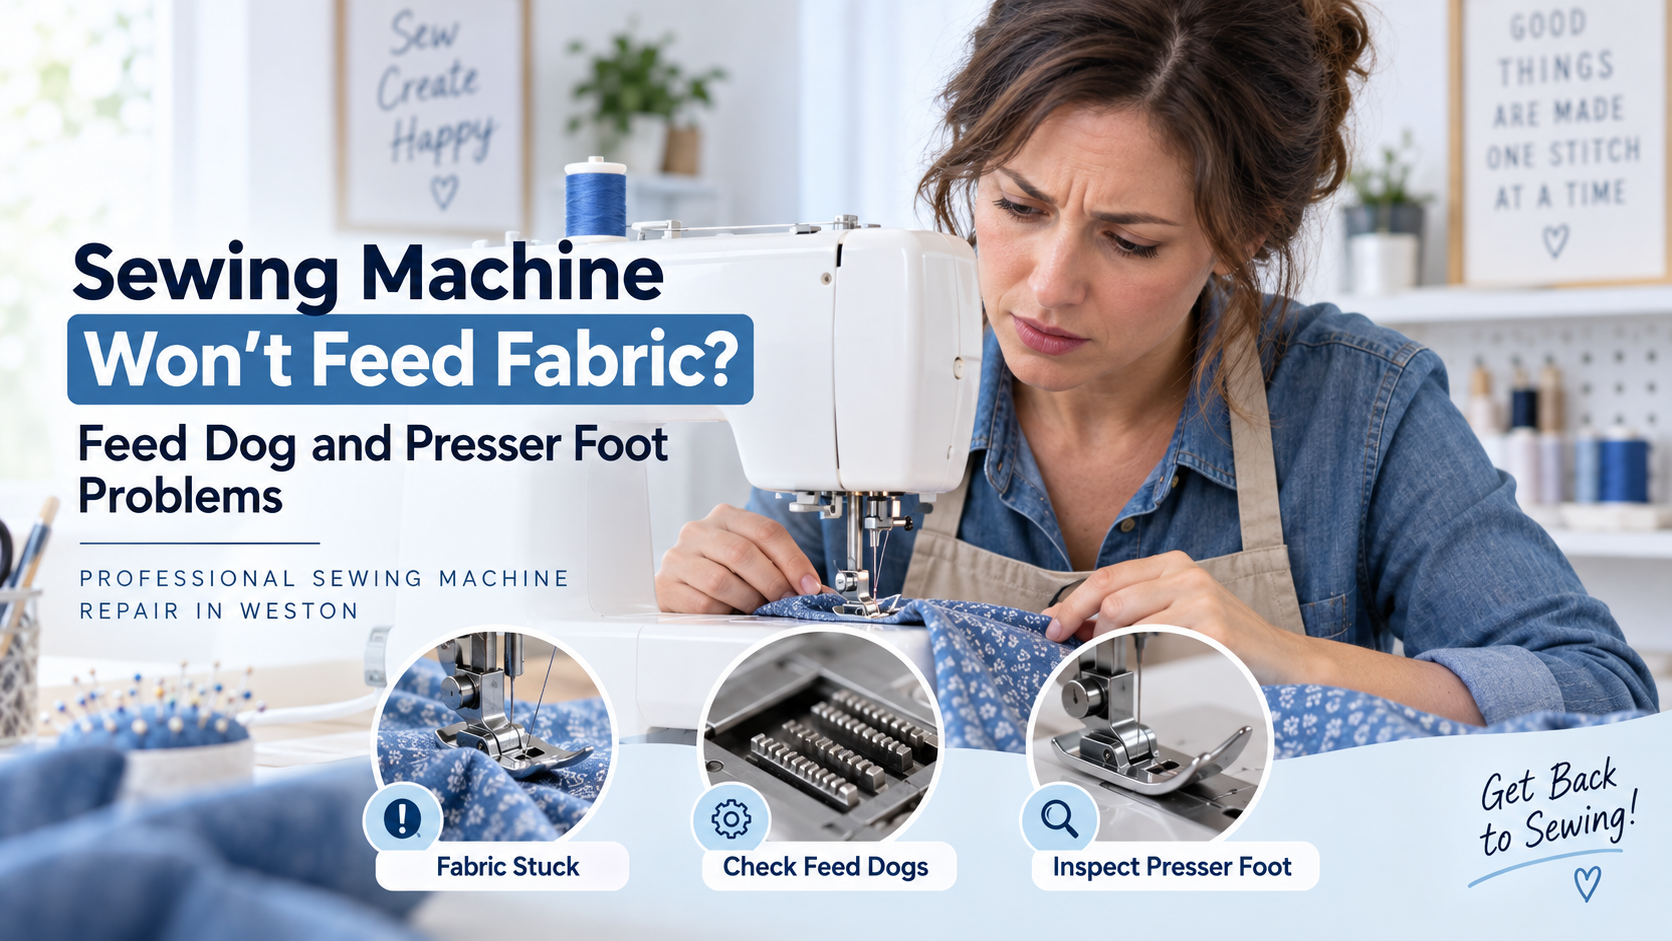
    Sewing Machine Won’t Feed Fabric? Feed Dog and Presser Foot Problems in Weston

    If your sewing machine turns on, the needle moves up and down, and the motor sounds like it is working—but your fabric barely moves or does not move at all—you may be dealing with a feed dog or presser foot problem.

    This is a common sewing machine issue that can be frustrating because the machine may appear to be functioning normally. You can hear the motor running and see the needle stitching, but instead of smoothly pulling the fabric through, the fabric stays in place, bunches underneath the presser foot, or requires you to manually pull it along.

    Fortunately, not every fabric-feeding problem means you need a major repair. Sometimes the cause is a simple stitch setting, lowered feed dogs, excessive lint, or incorrect presser-foot pressure. Other times, the problem can point to worn mechanical components, damaged gears, timing issues, or other internal problems that require professional sewing machine repair in Weston.

    What Are Feed Dogs on a Sewing Machine?

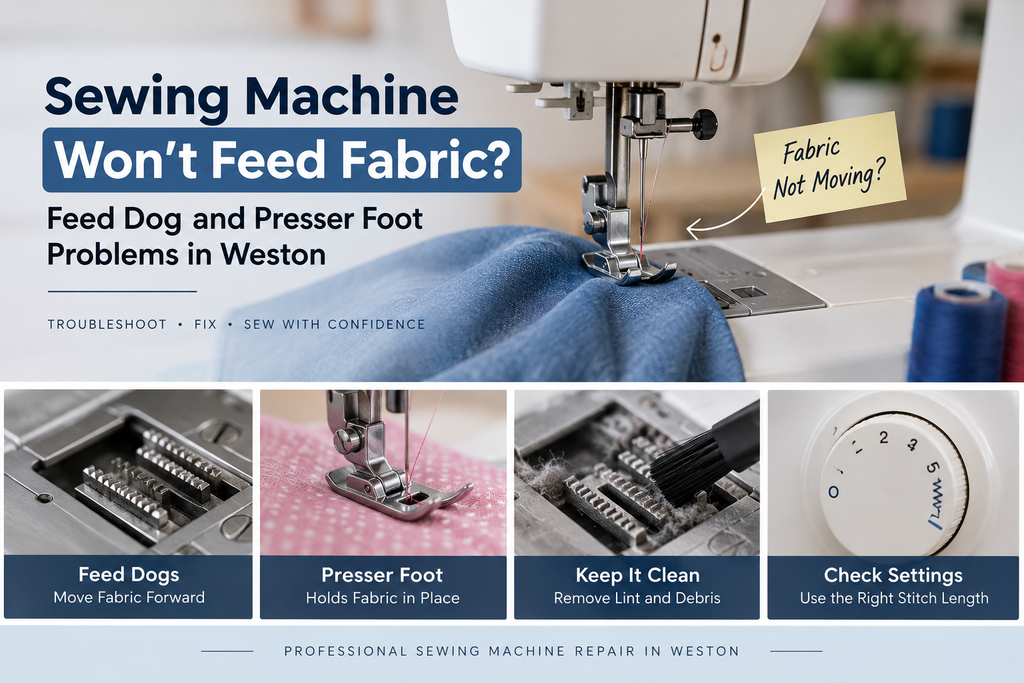
    The feed dogs are the small, textured metal teeth located underneath the presser foot and needle plate. Their job is to move the fabric forward as you sew.

    During a normal stitch, the feed dogs move through a specific sequence:

    1. They rise above the needle plate.

    2. They grip the bottom of the fabric.

    3. They move the fabric forward or backward.

    4. They drop below the needle plate.

    5. They return to their starting position.

    This movement happens repeatedly as the machine stitches.

    When the feed dogs are working correctly, you generally do not need to push or pull the fabric. The machine should move it at a consistent rate based on your stitch length.

    When the feed dogs are lowered, blocked by lint, damaged, worn, or not moving correctly, the fabric may stop feeding.

    Why Won’t My Sewing Machine Feed Fabric?

    There are several possible reasons your sewing machine is running but the fabric is not moving. Before assuming that the machine needs an expensive repair, it is worth checking a few basic things.

    1. The Feed Dogs May Be Lowered

    One of the first things to check is whether your feed dogs have accidentally been lowered.

    Many sewing machines have a feed-dog control used for free-motion sewing, quilting, darning, or embroidery. When the feed dogs are lowered, they no longer rise high enough to grip the fabric.

    The result can be exactly what many homeowners describe as:

    “My sewing machine works, but it won’t move the fabric.”

    Check your machine for a feed-dog lever, switch, or button. Depending on the model, it may be located on the front, side, or rear of the machine.

    If the feed dogs were intentionally lowered for free-motion sewing, return them to the normal sewing position.

    Some machines also require you to turn the handwheel one or more times before the feed dogs return to their normal position.

    2. The Feed Dogs May Be Dirty

    Sewing produces an impressive amount of lint.

    Fabric fibers, thread pieces, dust, and other debris can collect around the feed dogs and underneath the needle plate. Over time, this buildup can interfere with the feed dogs’ ability to move freely or grip the fabric.

    If you sew frequently, cleaning the feed-dog area should be part of your regular machine maintenance.

    Turn the machine off and remove the needle plate according to your machine’s instructions. Use an appropriate cleaning brush to remove accumulated lint and debris.

    Avoid forcing anything into the machine or using excessive compressed air where it could push debris deeper into the mechanism.

    If the feed dogs are clean but still do not move correctly, the problem may be mechanical rather than simply a cleaning issue.

    3. Your Stitch Length May Be Set Too Low

    Another surprisingly common cause is an incorrect stitch setting.

    If the stitch length is set extremely short or at zero, the machine may appear to be sewing without actually moving the fabric forward very much.

    Check your stitch-length control and make sure it is set appropriately for the type of sewing you are doing.

    For example, a standard medium-length stitch is often appropriate for general-purpose sewing, while heavier fabrics may require a different setting.

    If changing the stitch length makes no difference and the feed dogs are not moving properly, you may have a mechanical issue.

    4. The Presser Foot May Not Be Applying Enough Pressure

    The presser foot works together with the feed dogs to move fabric through the machine.

    The feed dogs grip the underside of the fabric while the presser foot holds the fabric against them. If the presser-foot pressure is too low, the feed dogs may have difficulty moving the material.

    This can be especially noticeable with:

    • Lightweight fabrics

    • Slippery fabrics

    • Multiple layers of fabric

    • Thick materials

    • Quilting projects

    • Specialty fabrics

    Some sewing machines allow the presser-foot pressure to be adjusted. If yours has this feature, the setting may need to be changed for the particular fabric you are sewing.

    However, avoid randomly adjusting internal or mechanical settings. If the presser foot does not appear to be applying normal pressure, a technician can determine whether the issue is adjustment-related or caused by worn components.

    5. Lint or Thread May Be Blocking the Mechanism

    A sewing machine has many moving components underneath the needle plate and inside the machine.

    A small amount of lint may not cause a noticeable problem. Over time, however, accumulated lint and thread can interfere with moving parts.

    You might notice:

    • Feed dogs moving unevenly

    • Fabric feeding intermittently

    • Stitch length becoming inconsistent

    • A clicking or grinding sound

    • The machine struggling to sew thicker materials

    • Fabric getting stuck under the presser foot

    Regular cleaning can help prevent these problems, but excessive buildup may require a morethorough cleaning and service.

    6. The Feed Dogs May Be Worn or Damaged

    Feed dogs are designed to grip fabric, but they are not immune to wear.

    After years of use, the teeth can become worn or damaged. If the teeth have become smooth, they may no longer grip the fabric effectively.

    This can make the machine seem as though it has lost its ability to feed fabric.

    A damaged feed dog can also cause inconsistent stitching. You may notice that the machine feeds normally in some areas but struggles with certain fabrics or stitch lengths.

    If the feed dogs are visibly damaged or unusually worn, replacement may be necessary.

    7. Internal Gears Could Be Damaged

    The feed dogs do not move independently. Their movement is controlled by a series of mechanical components inside the sewing machine.

    Depending on the machine’s design, gears, cams, shafts, and other components work together to create the precise motion required to feed the fabric.

    If an internal gear becomes damaged or worn, the machine may still run while the feed mechanism does not operate correctly.

    This is one reason a sewing machine can sound perfectly normal while failing to move fabric.

    A damaged gear is not usually something that can be fixed from the outside. Diagnosing the problem may require disassembly and inspection by an experienced sewing machine technician.

    8. Sewing Machine Timing May Be Off

    Timing is extremely important inside a sewing machine.

    The needle, hook, feed dogs, and other components have to move in a precise sequence. If the timing becomes incorrect, the machine may develop several symptoms at once.

    A timing problem can sometimes cause:

    • Poor fabric feeding

    • Skipped stitches

    • Needle strikes

    • Thread breaking

    • Incorrect stitch formation

    • Unusual noises

    • Inconsistent stitch length

    If your sewing machine recently jammed, hit a hard object, broke a needle, or experienced another mechanical incident and then stopped feeding fabric correctly, timing or another internal mechanical problem could be involved.

    9. The Machine May Need Internal Mechanical Service

    If you’ve checked the feed-dog setting, cleaned the machine, confirmed the stitch length, and checked the presser foot but the fabric still will not feed, it may be time for professional service.

    Internal mechanical wear can develop gradually. Older machines may experience wear in gears, shafts, linkages, bearings, or other components that affect fabric feeding.

    Sometimes the machine gives you warning signs before the problem becomes severe.

    Pay attention if your machine has recently started:

    • Making unusual noises

    • Feeding fabric inconsistently

    • Producing uneven stitches

    • Running slower than normal

    • Getting stuck during certain stitches

    • Struggling with thicker fabrics

    • Requiring you to pull the fabric through manually

    These symptoms can help a sewing machine technician determine where to begin troubleshooting.

    Should You Pull the Fabric Through Yourself?

    It may be tempting to simply pull the fabric when the machine stops feeding.

    Try not to.

    Pulling fabric aggressively while the needle is engaged can place unnecessary stress on the needle, presser foot, feed mechanism, and other components. It can also contribute to needle breakage or damage to the fabric.

    The sewing machine should normally control the fabric movement. Your job is primarily to guide the material—not force it through the machine.

    If you consistently have to push or pull the fabric, there is likely an underlying problem that should be addressed.

    When to Bring Your Sewing Machine in for Repair

    A simple setting adjustment or cleaning may solve some feeding problems. But if the feed dogs are not moving, the presser foot is not applying proper pressure, or the machine is makingunusual noises, professional inspection is a better option.

    This is especially true if you have an expensive sewing machine, computerized sewing machine, embroidery machine, or machine that has significant sentimental or professional value.

    A technician can inspect the feed dogs, presser-foot mechanism, stitch controls, gears, timing, and other components to identify the actual cause of the problem.

    Trying to disassemble a sewing machine without knowing how its internal mechanisms work can turn a relatively simple repair into a much more complicated one.

    Sewing Machine Repair in Weston, FL

    If your sewing machine is running but won’t feed fabric, you don’t necessarily need to replace the machine.

    The problem could be something as simple as lowered feed dogs or a stitch setting. It could also be caused by lint buildup, incorrect presser-foot pressure, worn feed dogs, damaged gears, timing problems, or normal mechanical wear.

    The important thing is to identify the cause before continuing to sew and potentially making the problem worse.

    For homeowners and sewing enthusiasts in Weston, Florida, professional sewing machine repair can help get your machine feeding fabric smoothly again. A proper inspection can determine whether the issue is a simple adjustment, cleaning, replacement part, or more involved mechanical repair.

    Common Sewing Machine Feeding Problems We Can Help Diagnose

    If your machine is experiencing any of these problems, it may be time for service:

    • Sewing machine runs but won’t move fabric

    • Fabric barely moves while sewing

    • Feed dogs aren’t moving

    • Feed dogs won’t rise

    • Fabric gets stuck under the presser foot

    • Sewing machine stitches in place

    • Stitch length is inconsistent

    • Presser foot isn’t holding fabric properly

    • Machine skips stitches while feeding

    • Fabric bunches underneath the needle

    • Machine makes unusual noises while sewing

    • Feed mechanism works intermittently

    Don’t assume that a sewing machine that won’t feed fabric has reached the end of its useful life. Many feeding problems are repairable, and diagnosing the problem early can help prevent additional damage.

    If your sewing machine runs but your fabric isn’t moving the way it should, professional sewing machine repair in Weston can help determine what’s preventing the feed system from doing its job.

    If your sewing machine still will not feed fabric after checking the feed dogs, stitch length, presser foot, and visible lint buildup, the problem may involve worn gears, timing issues, or another internal component. For local service, learn more about our sewing machine repair in Weston, FL and the types of problems our technicians can diagnose.

    Different sewing machine brands can develop different feeding and mechanical issues. If you own a Singer machine that is skipping stitches, making unusual noises, or failing to move fabric properly, visit our Singer sewing machine repair page for more information about professional service and troubleshooting.

    Brother sewing machines can also experience feed problems related to the presser foot, feed mechanism, stitch settings, or internal components. Owners experiencing these issues can learn more about our Brother sewing machine repair services and available diagnostic options.

    If basic troubleshooting does not solve the problem, professional inspection can help identify the cause before additional wear develops. Our Weston sewing machine repair service can help determine whether your machine needs cleaning, adjustment, replacement parts, or more extensive mechanical repair.