
Broward: 954-341-4323
Palm Beach: 561-558-0770

MEGA SHOWROOM:
9853 W. Sample Rd,
Coral Springs, FL 33065
HOURS: M-F: 9am-6pm SAT: 10am-4pm

Category: Parkland, FL

Explore Gator Vacuum & Sewing tips for Parkland homeowners, including central vacuum service, vacuum maintenance, sewing machine care, indoor air quality, filtration advice, and home cleaning solutions for cleaner, healthier South Florida homes.

  • Central Vacuum Hose Problems: What Parkland Homeowners Should Check First

    Central Vacuum Hose Problems: What Parkland Homeowners Should Check First

    When your central vacuum suddenly loses suction or won’t turn on, it’s easy to assume the power unit has failed. However, for many Parkland homeowners, the real culprit isn’t the central vacuum system at all—it’s the hose.

    The hose is the most frequently used component of any central vacuum system. It’s pulled around furniture, stretched through hallways, bent around corners, and plugged into wall inlets thousands of times over its lifetime. As a result, hoses naturally experience more wear and tear than almost any other part of the system.

    Before you start shopping for a new power unit or scheduling a major repair, it’s worth taking a closer look at your hose. In many cases, replacing or repairing the hose can restore your system’s performance quickly and affordably.

    Why the Hose Is So Important

    Your central vacuum hose does much more than carry dirt to the vacuum system.

    Depending on your setup, it may also:

    • Deliver electrical power to an electric powerhead
    • Turn the vacuum system on and off
    • Control suction with an integrated switch
    • Connect securely to wall inlets
    • Support various cleaning attachments

    When any part of the hose fails, it can make the entire central vacuum system appear to be malfunctioning.

    Sign #1: Cracked or Split Hose

    One of the most common hose problems is physical damage.

    Over time, hoses can develop:

    • Small cracks
    • Splits near the handle
    • Tears from being pinched in doors
    • Worn sections from years of dragging across tile or concrete

    Even a small crack allows air to escape before it reaches the power unit, reducing suction throughout the cleaning process.

    Symptoms of a Cracked Hose

    • Weak suction
    • Whistling sounds
    • Reduced cleaning performance
    • Dirt left behind
    • Hose feels soft or collapses when in use

    Fortunately, replacing a damaged hose is often much less expensive than replacing your central vacuum system.

    Sign #2: A Clog Inside the Hose

    A clogged hose is another common issue that many homeowners mistake for a failing vacuum.

    Objects that frequently become lodged inside the hose include:

    • Pet toys
    • Socks
    • Paper towels
    • Large clumps of pet hair
    • Hair ties
    • Children’s toys
    • Excessive lint

    Because central vacuum hoses are long and flexible, debris can become trapped almost anywhere along their length.

    How to Tell if the Hose Is Clogged

    Try disconnecting the hose from both the wall inlet and your cleaning tools. Look through the hose toward a bright light. If you can’t see daylight clearly through the entire length, there’s likely an obstruction.

    Another simple test is to compare the suction directly at the wall inlet with the suction through the hose. If the inlet has strong suction but the hose does not, the hose is often the source of the problem.

    Sign #3: The Handle Switch Isn’t Working

    Many modern central vacuum hoses feature an on/off switch built into the handle. Over time, this switch can wear out due to frequent use.

    Common symptoms include:

    • The vacuum won’t turn on
    • The vacuum shuts off unexpectedly
    • The switch feels loose
    • The switch sticks
    • The vacuum only works intermittently

    Sometimes the switch itself is faulty. In other cases, the electrical wiring inside the handle has become damaged.

    Sign #4: Poor Electrical Connections

    Electric hoses contain wiring that powers motorized carpet brushes.

    If these electrical connections become damaged, you may notice:

    • The powerhead won’t run.
    • Carpet cleaning performance drops.
    • Sparks at the wall inlet.
    • The vacuum motor runs but the brush doesn’t spin.

    Loose electrical connections can develop over years of plugging and unplugging the hose or from accidental damage.

    Replacing a worn electric hose often restores full functionality without requiring repairs to the central vacuum unit itself.

    Sign #5: Loose Hose-to-Inlet Connection

    A hose should fit snugly into the wall inlet.

    If it feels loose, several problems can occur:

    • Air leaks
    • Reduced suction
    • Intermittent power
    • Difficulty keeping the hose connected

    Sometimes the hose cuff wears down over time. Other times, the inlet valve itself has become worn and no longer seals properly.

    Both issues are relatively inexpensive to repair compared to replacing the entire system.

    Sign #6: Attachments Don’t Fit Properly

    Not every attachment is compatible with every central vacuum hose.

    Over time, homeowners often purchase replacement tools that don’t match the diameter of their existing hose.

    Poor-fitting attachments can:

    • Fall off during cleaning
    • Leak air
    • Reduce suction
    • Scratch flooring
    • Limit cleaning efficiency

    If your tools constantly disconnect or wobble during use, it may simply be time for updated accessories designed to fit your hose correctly.
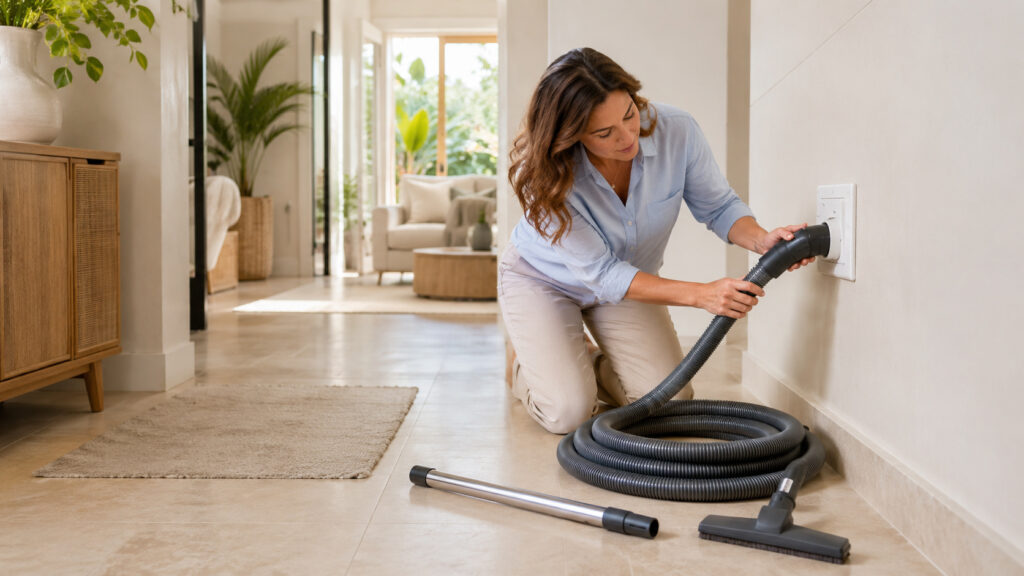
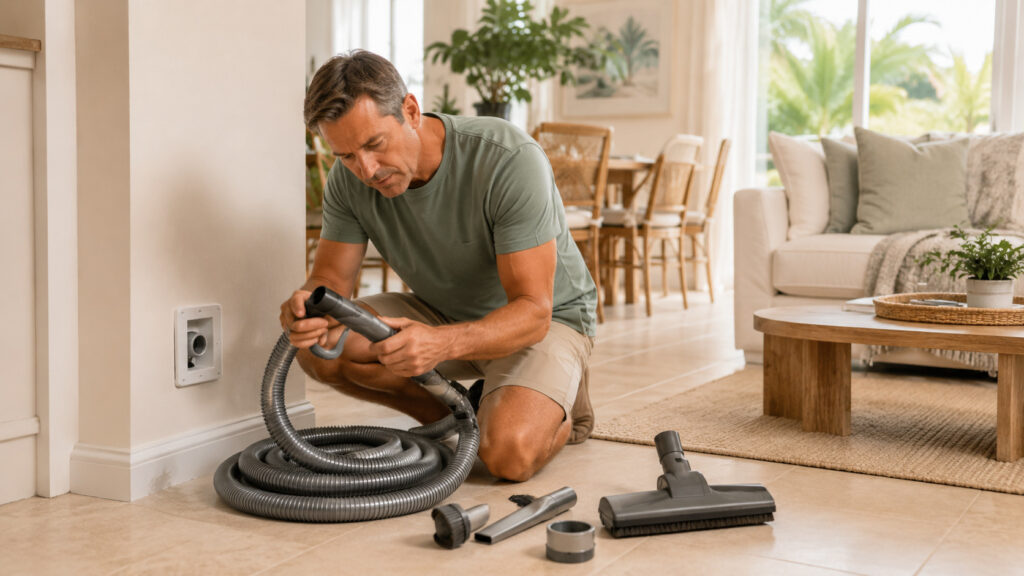
    Homeowner inspecting a central vacuum hose and attachments for clogs, wear, or damaged connections
    Checking the hose, handle, connections, and attachments can help pinpoint central vacuum problems before more extensive repairs are needed.

    When Should You Replace a Central Vacuum Hose?

    Although high-quality hoses are built to last for many years, they don’t last forever.

    Consider replacing your hose if:

    • It’s more than 10–15 years old.
    • Multiple cracks have developed.
    • Repairs no longer solve the problem.
    • The handle switch repeatedly fails.
    • Electrical connections are unreliable.
    • Suction remains weak despite clearing clogs.

    A new hose can dramatically improve your cleaning experience, especially when paired with updated accessories.

    Upgrading Your Accessories Can Improve Cleaning

    Many homeowners focus only on the hose but overlook aging attachments.

    New accessories can make your existing central vacuum system feel like new.

    Popular upgrades include:

    • Electric powerheads
    • Turbo brushes
    • Bare floor brushes
    • Pet grooming tools
    • Upholstery brushes
    • Dusting brushes
    • Crevice tools
    • Extension wands

    Modern attachment sets are lighter, more durable, and designed to clean today’s flooring more effectively.

    Preventing Future Hose Problems

    A few simple habits can extend the life of your hose:

    • Avoid pulling the hose around sharp corners.
    • Don’t pinch it in doors.
    • Store it loosely coiled rather than tightly wrapped.
    • Remove large objects from floors before vacuuming.
    • Inspect the hose regularly for cracks or wear.
    • Replace worn cuffs or handles before they cause bigger problems.

    Routine care can help your hose provide years of dependable service.

    Visit Gator Vacuum & Sewing for Central Vacuum Hose Replacement and Repair

    If your central vacuum isn’t performing the way it used to, don’t assume the power unit has failed. In many cases, the hose, handle, or accessories are the real source of the problem. Replacing a worn hose or upgrading outdated tools is often a fast and cost-effective solution that restores your system’s performance.

    At Gator Vacuum & Sewing, we carry high-quality central vacuum hoses, replacement handles, attachment kits, powerheads, and accessories for many of today’s leading central vacuum brands. Our experienced team can help you determine whether your hose needs replacement, recommend the correct parts, or inspect your system if a larger repair is needed.

    Whether you’re dealing with weak suction, electrical issues, damaged accessories, or simply need a new hose, we’re here to help homeowners throughout Parkland and the surrounding communities keep their built-in vacuum systems in Parkland performing at their best.

    Visit our showroom or contact us today for expert advice, quality replacement parts, and professional central vacuum service.
  • Central Vacuum Hose Problems: What Parkland Homeowners Should Check First

    Central Vacuum Hose Problems: What Parkland Homeowners Should Check First

    Central Vacuum Hose Problems: What Parkland Homeowners Should Check First

    When your central vacuum suddenly loses suction or won’t turn on, it’s easy to assume the power unit has failed. However, for many Parkland homeowners, the real culprit isn’t the central vacuum system at all-it’s the hose.

    The hose is the most frequently used component of any central vacuum system. It’s pulled around furniture, stretched through hallways, bent around corners, and plugged into wall inlets thousands of times over its lifetime. As a result, hoses naturally experience more wear and tear than almost any other part of the system.

    Before you start shopping for a new power unit or scheduling a major repair, it’s worth taking a closer look at your hose. In many cases, replacing or repairing the hose can restore your system’s performance quickly and affordably.

    Why the Hose Is So Important

    Your central vacuum hose does much more than carry dirt to the vacuum system. Depending on your setup, it may also:

    • Deliver electrical power to an electric powerhead
    • Turn the vacuum system on and off
    • Control suction with an integrated switch
    • Connect securely to wall inlets
    • Support various cleaning attachments

    When any part of the hose fails, it can make the entire central vacuum system appear to be malfunctioning.

    Sign #1: Cracked or Split Hose

    One of the most common hose problems is physical damage. Over time, hoses can develop:

    • Small cracks
    • Splits near the handle
    • Tears from being pinched in doors
    • Worn sections from years of dragging across tile or concrete

    Even a small crack allows air to escape before it reaches the power unit, reducing suction throughout the cleaning process.

    Symptoms of a Cracked Hose

    • Weak suction
    • Whistling sounds
    • Reduced cleaning performance
    • Dirt left behind
    • Hose feels soft or collapses when in use

    Fortunately, replacing a damaged hose is often much less expensive than replacing your central vacuum system.

    Sign #2: A Clog Inside the Hose

    A clogged hose is another common issue that many homeowners mistake for a failing vacuum. Objects that frequently become lodged inside the hose include:

    • Pet toys
    • Socks
    • Paper towels
    • Large clumps of pet hair
    • Hair ties
    • Children’s toys
    • Excessive lint

    Because central vacuum hoses are long and flexible, debris can become trapped almost anywhere along their length.

    How to Tell if the Hose Is Clogged

    Try disconnecting the hose from both the wall inlet and your cleaning tools. Look through the hose toward a bright light. If you can’t see daylight clearly through the entire length, there’s likely an obstruction.

    Another simple test is to compare the suction directly at the wall inlet with the suction through the hose. If the inlet has strong suction but the hose does not, the hose is often the source of the problem.

    Sign #3: The Handle Switch Isn’t Working

    Many modern central vacuum hoses feature an on/off switch built into the handle. Over time, this switch can wear out due to frequent use. Common symptoms include:

    • The vacuum won’t turn on
    • The vacuum shuts off unexpectedly
    • The switch feels loose
    • The switch sticks
    • The vacuum only works intermittently

    Sometimes the switch itself is faulty. In other cases, the electrical wiring inside the handle has become damaged.

    Sign #4: Poor Electrical Connections

    Electric hoses contain wiring that powers motorized carpet brushes. If these electrical connections become damaged, you may notice:

    • The powerhead won’t run.
    • Carpet cleaning performance drops.
    • Sparks at the wall inlet.
    • The vacuum motor runs but the brush doesn’t spin.

    Loose electrical connections can develop over years of plugging and unplugging the hose or from accidental damage. Replacing a worn electric hose often restores full functionality without requiring repairs to the central vacuum unit itself.

    Sign #5: Loose Hose-to-Inlet Connection

    A hose should fit snugly into the wall inlet. If it feels loose, several problems can occur:

    • Air leaks
    • Reduced suction
    • Intermittent power
    • Difficulty keeping the hose connected

    Sometimes the hose cuff wears down over time. Other times, the inlet valve itself has become worn and no longer seals properly. Both issues are relatively inexpensive to repair compared to replacing the entire system.

    Sign #6: Attachments Don’t Fit Properly

    Not every attachment is compatible with every central vacuum hose. Over time, homeowners often purchase replacement tools that don’t match the diameter of their existing hose. Poor-fitting attachments can:

    • Fall off during cleaning
    • Leak air
    • Reduce suction
    • Scratch flooring
    • Limit cleaning efficiency

    If your tools constantly disconnect or wobble during use, it may simply be time for updated accessories designed to fit your hose correctly.

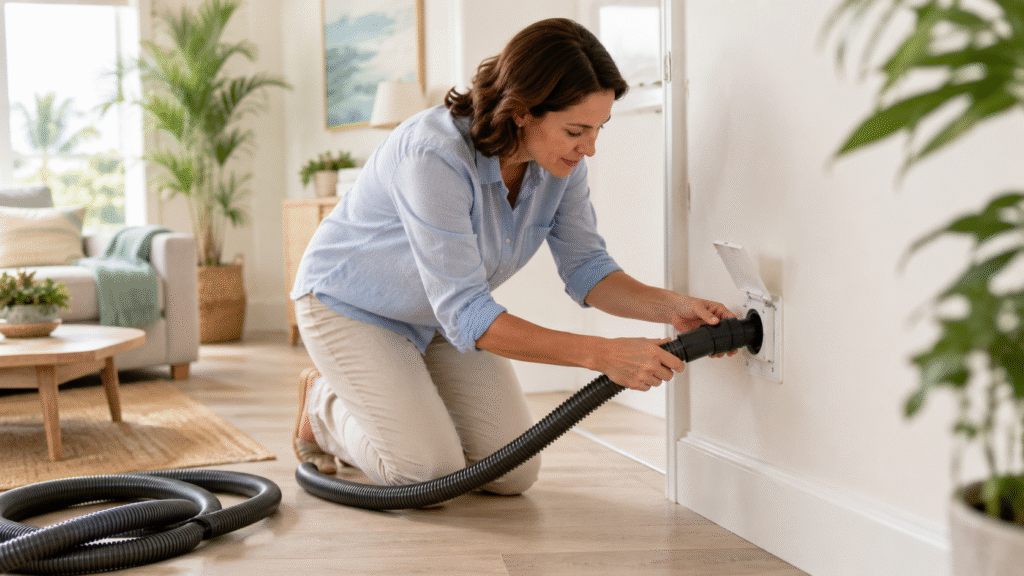
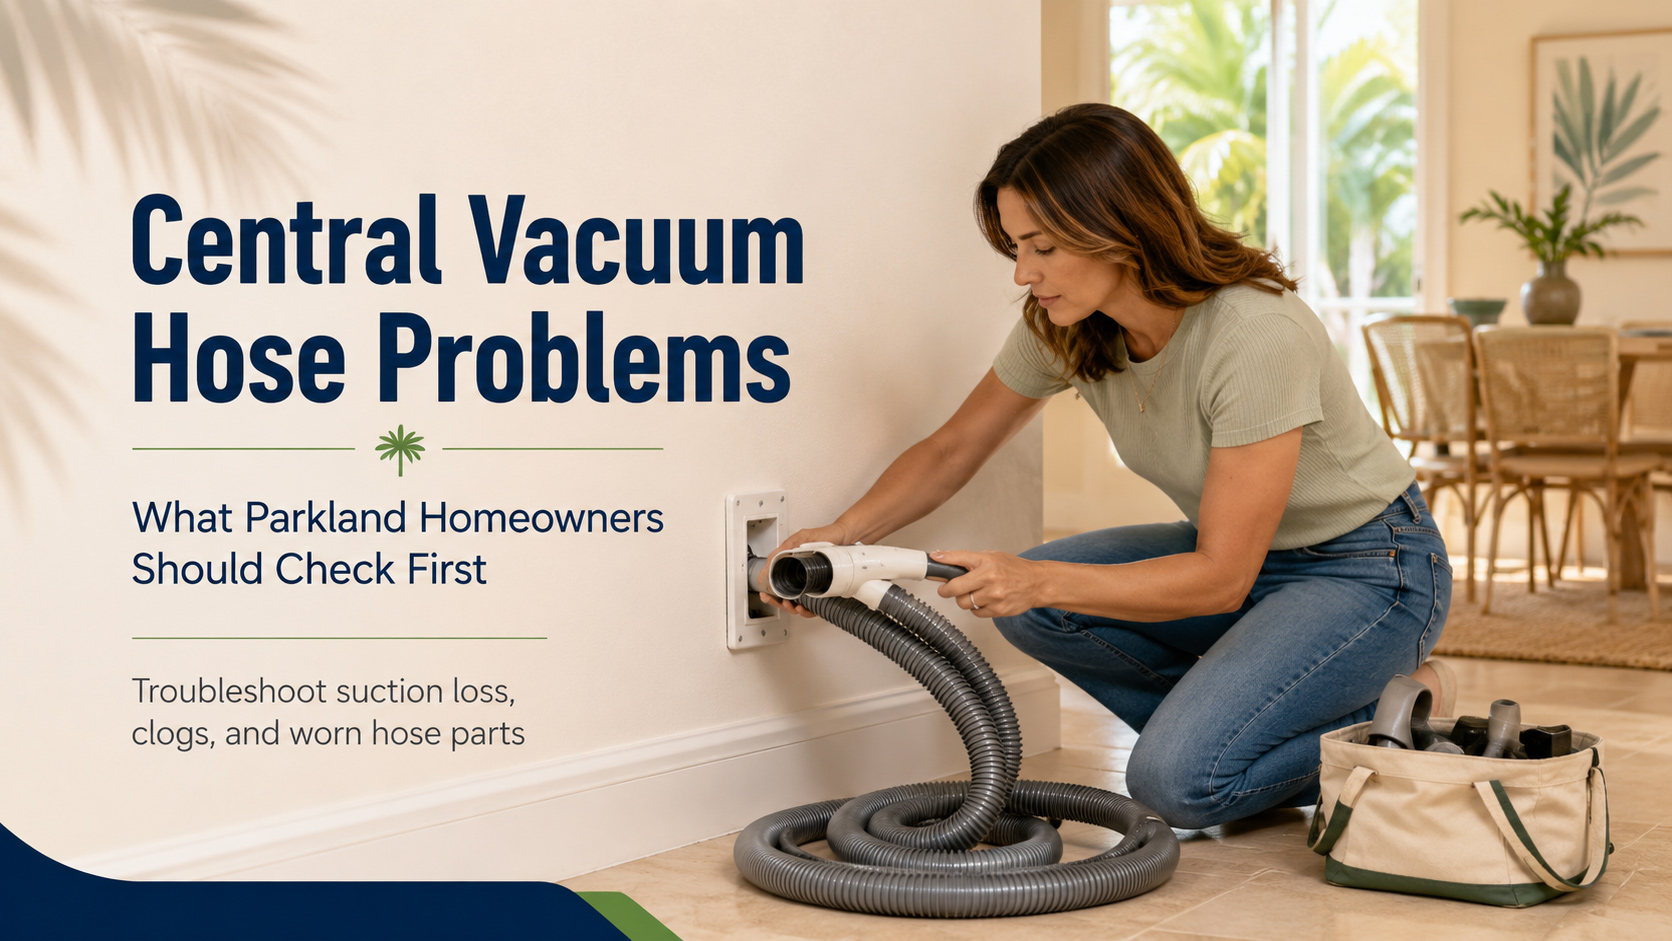
    Woman connecting a central vacuum hose to a wall inlet in a bright living room
    Checking the hose, handle, electrical contacts, and wall inlet can help pinpoint many central vacuum problems.

    When Should You Replace a Central Vacuum Hose?

    Although high-quality hoses are built to last for many years, they don’t last forever. Consider replacing your hose if:

    • It’s more than 10-15 years old.
    • Multiple cracks have developed.
    • Repairs no longer solve the problem.
    • The handle switch repeatedly fails.
    • Electrical connections are unreliable.
    • Suction remains weak despite clearing clogs.

    A new hose can dramatically improve your cleaning experience, especially when paired with updated accessories.

    Upgrading Your Accessories Can Improve Cleaning

    Many homeowners focus only on the hose but overlook aging attachments. New accessories can make your existing central vacuum system feel like new. Popular upgrades include:

    • Electric powerheads
    • Turbo brushes
    • Bare floor brushes
    • Pet grooming tools
    • Upholstery brushes
    • Dusting brushes
    • Crevice tools
    • Extension wands

    Modern attachment sets are lighter, more durable, and designed to clean today’s flooring more effectively.

    Preventing Future Hose Problems

    A few simple habits can extend the life of your hose:

    • Avoid pulling the hose around sharp corners.
    • Don’t pinch it in doors.
    • Store it loosely coiled rather than tightly wrapped.
    • Remove large objects from floors before vacuuming.
    • Inspect the hose regularly for cracks or wear.
    • Replace worn cuffs or handles before they cause bigger problems.

    Routine care can help your hose provide years of dependable service.

    Visit Gator Vacuum & Sewing for Central Vacuum Hose Replacement and Repair

    If your central vacuum isn’t performing the way it used to, don’t assume the power unit has failed. In many cases, the hose, handle, or accessories are the real source of the problem. Replacing a worn hose or upgrading outdated tools is often a fast and cost-effective solution that restores your system’s performance.

    At Gator Vacuum & Sewing, we carry high-quality central vacuum hoses, replacement handles, attachment kits, powerheads, and accessories for many of today’s leading central vacuum brands. Our experienced team can help you determine whether your hose needs replacement, recommend the correct parts, or inspect your system if a larger repair is needed.

    Whether you’re dealing with weak suction, electrical issues, damaged accessories, or simply need a new hose, we’re here to help homeowners throughout Parkland and the surrounding communities keep their central vacuum systems performing at their best. Visit our showroom or contact us today for expert advice, quality replacement parts, and professional central vacuum service.
  • The 24-Point Tune-Up: What Parkland Sewists Should Expect

    The 24-Point Tune-Up: What Parkland Sewists Should Expect

    The 24-Point Tune-Up: What Parkland Sewists Should Expect

    If you’ve invested in a high-quality sewing machine, you already understand that precision matters. Whether you’re quilting heirloom pieces, tailoring garments, or running embroidery projects daily, your machine is a finely tuned piece of equipment, not just a household appliance. And like any precision tool, it requires regular professional care.

    For sewists in Parkland, where craftsmanship and quality are often top priorities, a professional 24-point sewing machine tune-up isn’t just maintenance. It’s protection for your investment. But what exactly does that mean? And why is it so much more valuable than a DIY cleaning or quick oiling?

    Let’s break it down.

    What Is a 24-Point Sewing Machine Tune-Up?

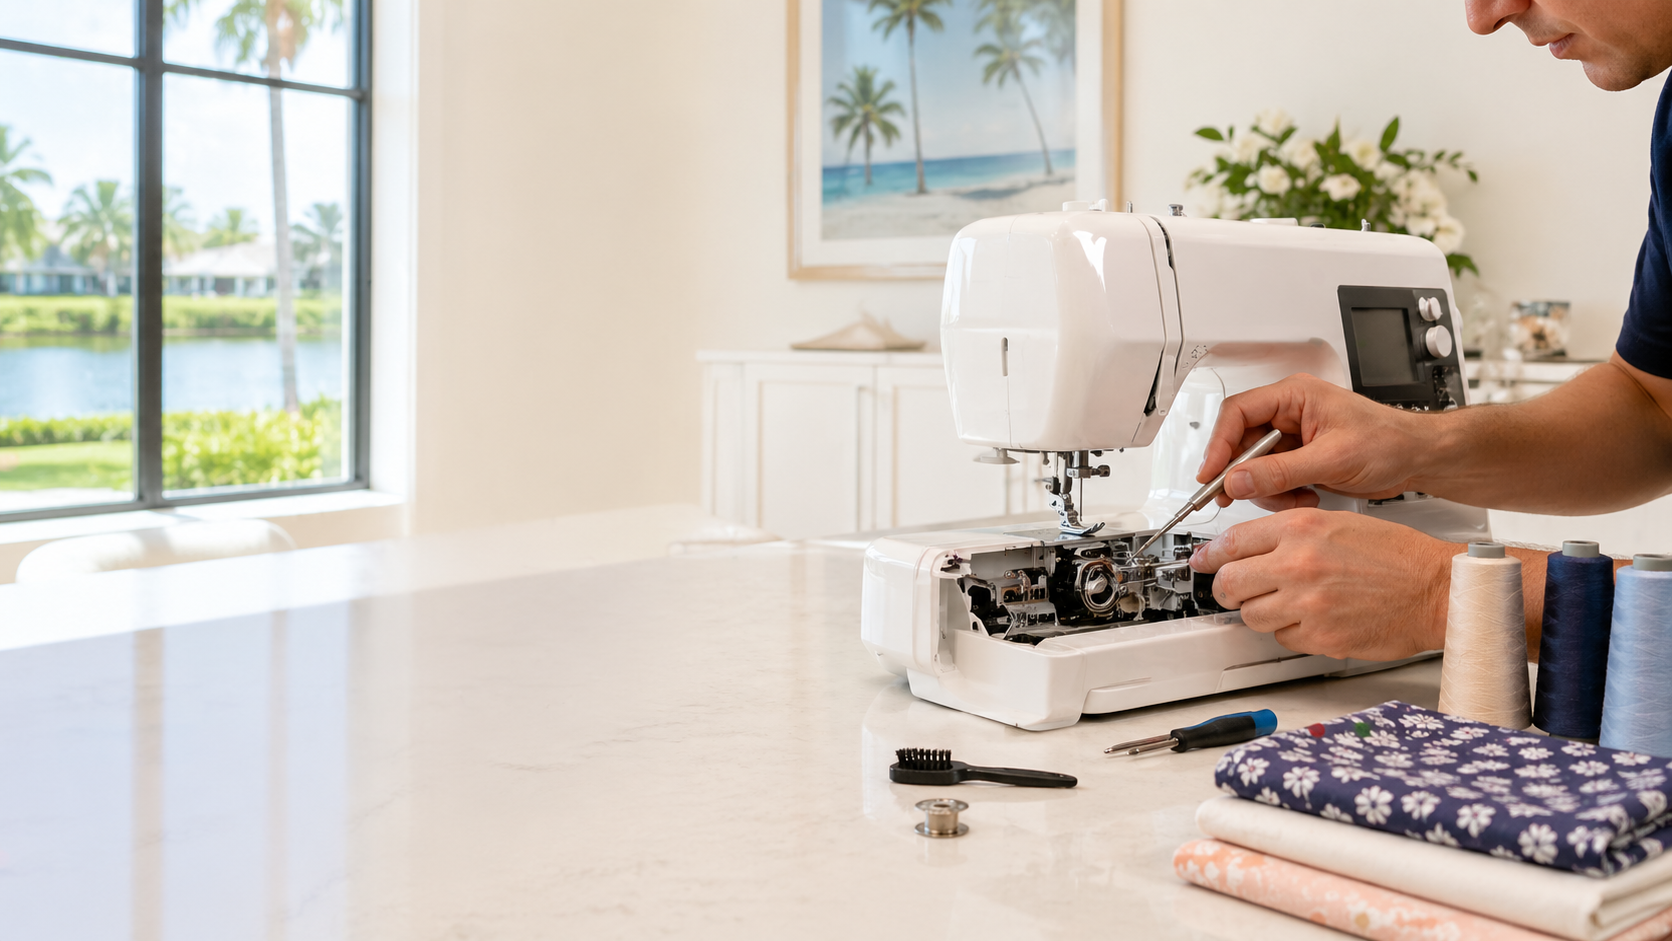
    A 24-point sewing inspection is a comprehensive, multi-step service designed to restore your machine to peak performance. Unlike basic at-home maintenance, this process goes far beyond wiping lint and adding oil. It involves a full mechanical, electrical, and performance evaluation, along with adjustments that require specialized tools and training.

    Think of it like a luxury car service: you wouldn’t trust a high-end vehicle to a quick oil change alone, and the same logic applies to your sewing machine.

    A professional tune-up ensures:

    • Optimal stitch quality
    • Smooth, quiet operation
    • Extended machine lifespan
    • Prevention of costly repairs

    Why DIY Maintenance Isn’t Enough

    Many sewists are diligent about cleaning their machines, and that’s great. However, even the most careful at-home maintenance has limits.

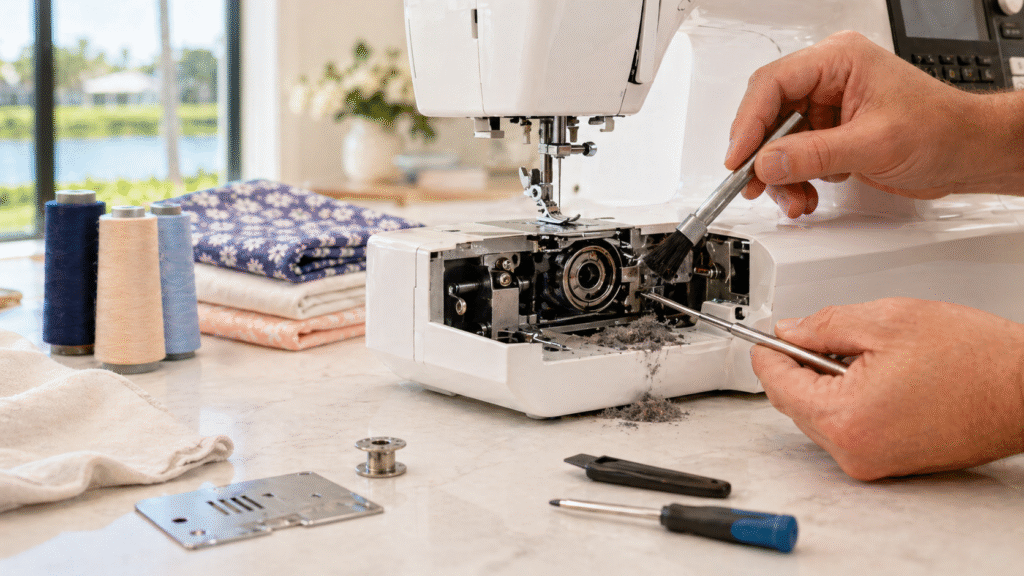
    Technician cleaning lint from the inside of a sewing machine during maintenance in Parkland

    Here’s what DIY care typically can’t address:

    Electrical inconsistencies

    Internal timing issues

    Gear wear and alignment

    Motor strain or inefficiencies

    Belt tension problems

    Modern machines, especially computerized or embroidery models, are incredibly complex. Opening them without proper knowledge can actually cause damage or void warranties.

    That’s why a professional sewing machine tune-up is not just helpful. It’s essential.

    The 24-Point Checklist: What’s Included

    While the exact checklist can vary slightly by service provider, a true 24-point sewing inspection covers all major systems of your machine. Here’s what Parkland sewists should expect:

    1. External Inspection

    Check for visible damage or wear

    Inspect cords, plugs, and foot pedal condition

    2. Full Disassembly

    Open machine casing to access internal components

    Remove accumulated lint and debris deep inside

    3. Deep Cleaning

    Remove lint buildup from the feed dogs, bobbin area, and tension discs

    Clean old oil and residue that can gum up movement

    4. Lubrication of Moving Parts

    Apply manufacturer-approved oils to critical components

    Ensure smooth motion and reduce friction

    5. Timing Adjustment

    Synchronize needle and hook timing

    Prevent skipped stitches and thread breakage

    6. Tension Calibration

    Adjust upper and lower thread tension

    Ensure balanced, professional-quality stitches

    7. Feed Dog Alignment

    Ensure proper fabric feeding

    Prevent uneven stitching or fabric bunching

    8. Needle Bar Adjustment

    Align needle position for accuracy

    Reduce needle breakage risk

    9. Presser Foot Pressure Check

    Adjust pressure settings for different fabric types

    10. Bobbin System Inspection

    Check bobbin case for wear or damage

    Ensure smooth thread delivery

    11. Hook Assembly Check

    Inspect rotary or oscillating hook function

    Clean and polish if necessary

    12. Gear Inspection

    Examine internal gears for wear or cracking

    Replace damaged components if needed

    13. Belt Inspection

    Check motor and drive belts

    Adjust tension or replace worn belts

    14. Motor Performance Test

    Evaluate motor efficiency and responsiveness

    Identify overheating or power inconsistencies

    15. Electrical System Check

    Inspect wiring and internal connections

    Ensure safe and consistent operation

    16. Speed Control Calibration

    Test foot pedal responsiveness

    Adjust for smooth speed transitions

    17. Stitch Pattern Testing

    Run multiple stitch types

    Verify consistency and accuracy

    18. Buttonhole Function Test

    Ensure proper sizing and formation

    19. Embroidery Unit Check

    Test alignment and stitch precision

    Clean embroidery mechanisms

    20. Software/Firmware Check

    Ensure computerized machine systems are functioning correctly

    Identify potential glitches

    21. Noise and Vibration Assessment

    Detect unusual sounds

    Address underlying mechanical issues

    22. Reassembly and Final Lubrication

    Carefully reassemble all components

    Apply final lubrication

    23. Final Stitch Test

    Sew test samples on multiple fabrics

    Confirm professional-grade results

    24. Performance Report

    Provide feedback on machine condition

    Recommend future maintenance or repairs

    Why Parkland Sewists Benefit Most

    In a community like Parkland, many sewists own premium machines and expect high performance. Whether you’re working with brands like Bernina, Baby Lock, or Janome, these machines are built for precision, but they demand equally precise care.

    • A professional Parkland sewing machine repair specialist understands:
    • The value of high-end machines
    • The importance of maintaining stitch integrity
    • The need for preventative care, not just reactive fixes
    • Regular tune-ups help you avoid:
    • Costly part replacements
    • Project delays
    • Frustrating stitch inconsistencies

    How Often Should You Schedule a Tune-Up?

    The frequency depends on how often you sew:

    Heavy use, including daily or business use: every 6 to 12 months

    Moderate use, including weekly projects: once a year

    Light use, including occasional sewing: every 1 to 2 years

    If you notice any of the following, don’t wait:

    • Skipped stitches
    • Unusual noises
    • Thread bunching
    • Reduced power

    These are signs your machine needs immediate attention.

    The True Value of Professional Service

    Some sewists hesitate at the cost of a professional sewing machine tune-up, but it’s important to look at the bigger picture.

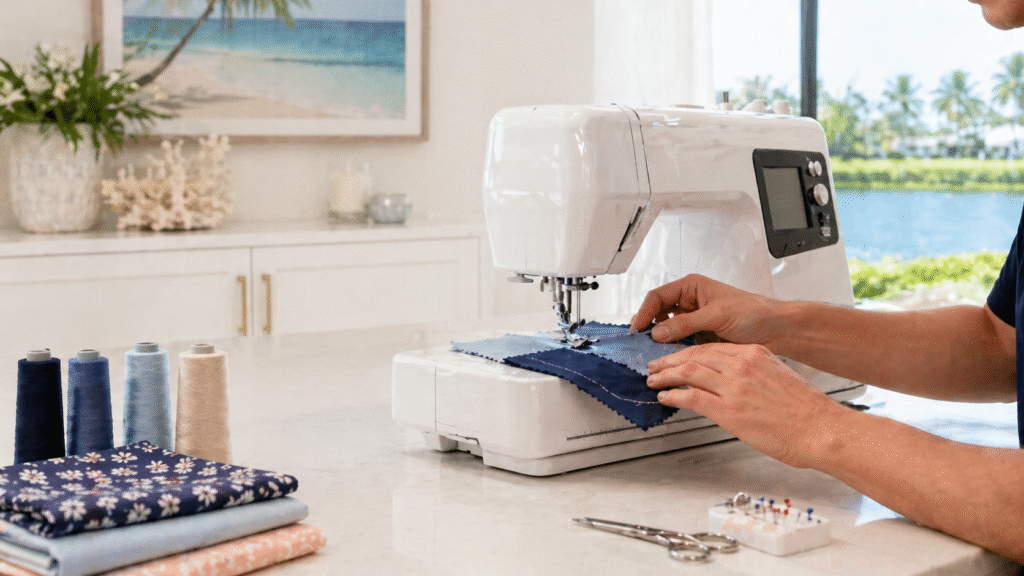
    Sewing machine stitching fabric samples in a bright Parkland sewing room after a professional tune-up

    A tune-up:

    In reality, it’s one of the most cost-effective services you can schedule.

    Extends machine lifespan by years

    Improves stitch quality instantly

    Prevents major repairs that can cost hundreds

    Protects your investment

    What to Look for in a Service Provider

    Not all repair shops are equal. When choosing a technician for your 24-point sewing inspection, look for:

    • Experience with high-end brands
    • Transparent service checklists
    • Clean, professional workspace
    • Strong local reputation
    • Willingness to explain findings

    A true specialist will treat your machine like the precision instrument it is.

    For Parkland sewists who want professional help maintaining their machines, Gator Vacuum & Sewing offers sewing machine repair and yearly tune-ups from experienced technicians at its Coral Springs location. Parkland homeowners can also learn more about Gator’s local Parkland central vacuum repair, sales, and service for whole-home cleaning support.

    Final Thoughts: Precision Deserves Precision

    Your sewing machine is the heart of your creative work. Whether you’re crafting custom garments, quilting masterpieces, or running a home-based business, performance matters, and that performance depends on proper care.

    A 24-point sewing machine tune-up is not just maintenance. It’s a commitment to quality, longevity, and peace of mind.

    For sewists in Parkland, where attention to detail and high standards are the norm, investing in regular professional service ensures your machine continues to perform exactly as it should: beautifully, reliably, and flawlessly.